.
.
.


 Cut out a cardboard circle twice as big as you would like your yo yo’s to be.
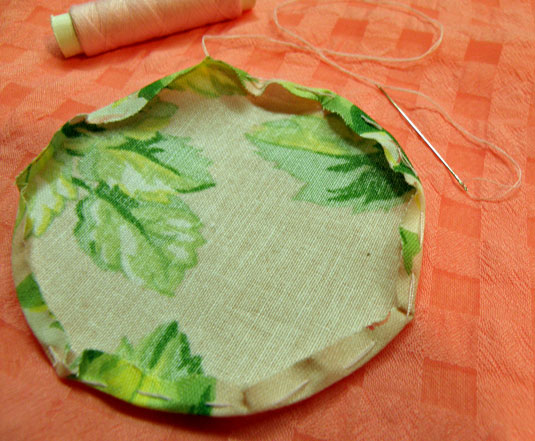 Press over the edge of the fabric with an iron about ¼ inch in, then tack around with needle and thread keeping fairly close to the ironed crease.
 Pull the thread tightly and start gathering the outer edges in
 Pull thread very tight until the yo yo has formed.
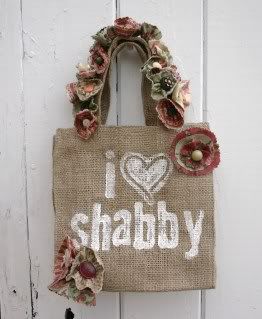
 You can tie off thread and leave plain OR you can add a button!
 See how differently this looks with a green background!!

 especially for Let's Get Shabby




 I am a very proud Air Force wife with four gorgeous (sometimes willing) photographic subjects aka my children who range in age from 4 years to 23 years! I have been doing some kind of craft since I could hold a pair of scissors and have been seriously scrapping for 10 or so years. I scrap for family, friends and to keep my sanity LOL! I am also lucky enough to work as Technical Editor for Scrapbooking Memories Magazine. I hope to give you lots of inspiration with the beautiful kits from Sissey and I look forward to seeing what YOU create!

 Thanks soooooo much Mel for sponsoring us again!!!
 all those fabulous last minute
 To make these eggs you will need.
1. Apply a layer of white Gesso to the eggs to act as a base, especially if using the foam eggs
2. Apply 2 coats of pastel coloured acrylic paints
3. Add complimentary colour of Distress Paint onto the top half only or some glue and glitter then leave to dry.
4. Glue ribbon or pearl trim around the sides of the egg. You may choose to glue some ribbon across the center of the egg before gluing the sides.
5. Arrange a small bouquet of contrasting or complimentary flowers and glue onto the center of the egg. I also used some Vintage paper images underneath the paper flowers.
6. Finish with a ribbon bow and a small tag adorned with words or images.


Bit late but just HAD to share these beautiful eggs and we hope that they have inspired you to make up some of your own for next years Easter holidays.
 .



 owned by

 AND


